Openers · Mulmur
Garage Door Opener Diagnosis and Repair in Mulmur
You press the remote from the driveway and hear the motor hum overhead, a steady drone with no movement behind it.
In plain words
Diagnosis answers a question you cannot settle from the driveway: repair or replace? Age matters, because boards and gear kits for a twenty-five-year-old unit may no longer be made. Safety matters, because a unit with no photo eyes is one the industry recommends replacing rather than patching. The nature of the fault matters too: a capacitor or a gear kit is a routine repair, while a burnt-out motor in an old chain-drive head is usually the signal to move on. You leave with the finding, the reasoning and the choice in your hands, not a replacement sold before anyone looked.
How the visit goesThe door goes up perfectly. Coming down is the trouble: partway to the floor it stops, climbs back to the top, and the light on the opener blinks at you. The only way to close it is to stand inside holding the wall button the whole way down.
Garage Door Opener Diagnosis and Repair
How the visit goes
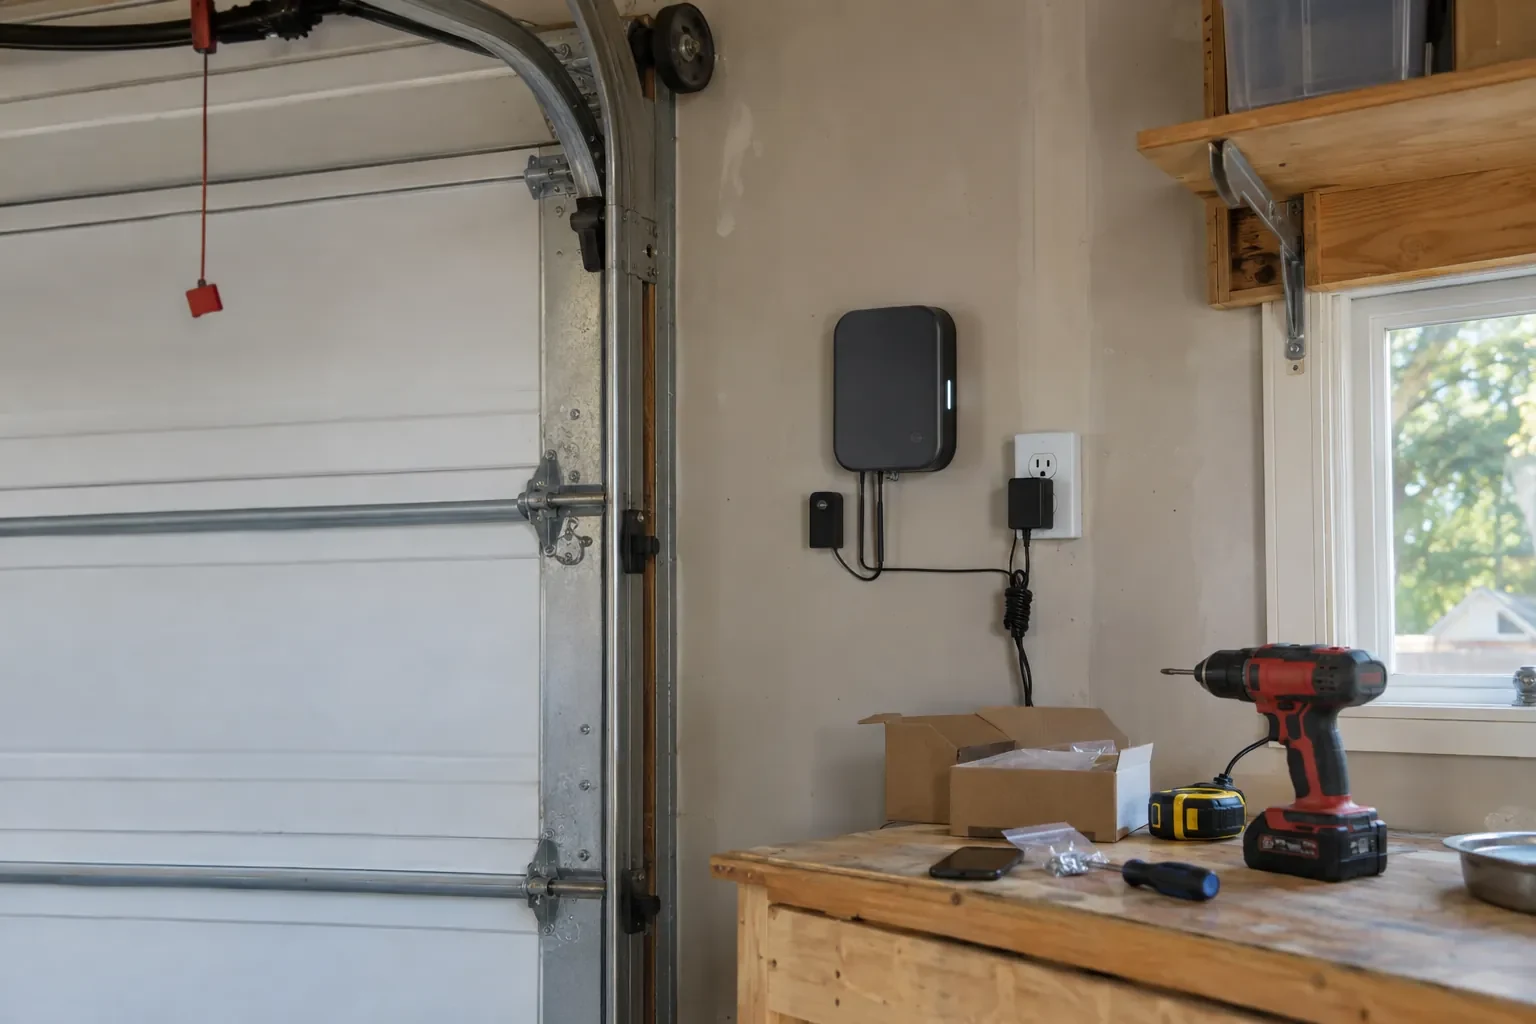
The door by itself
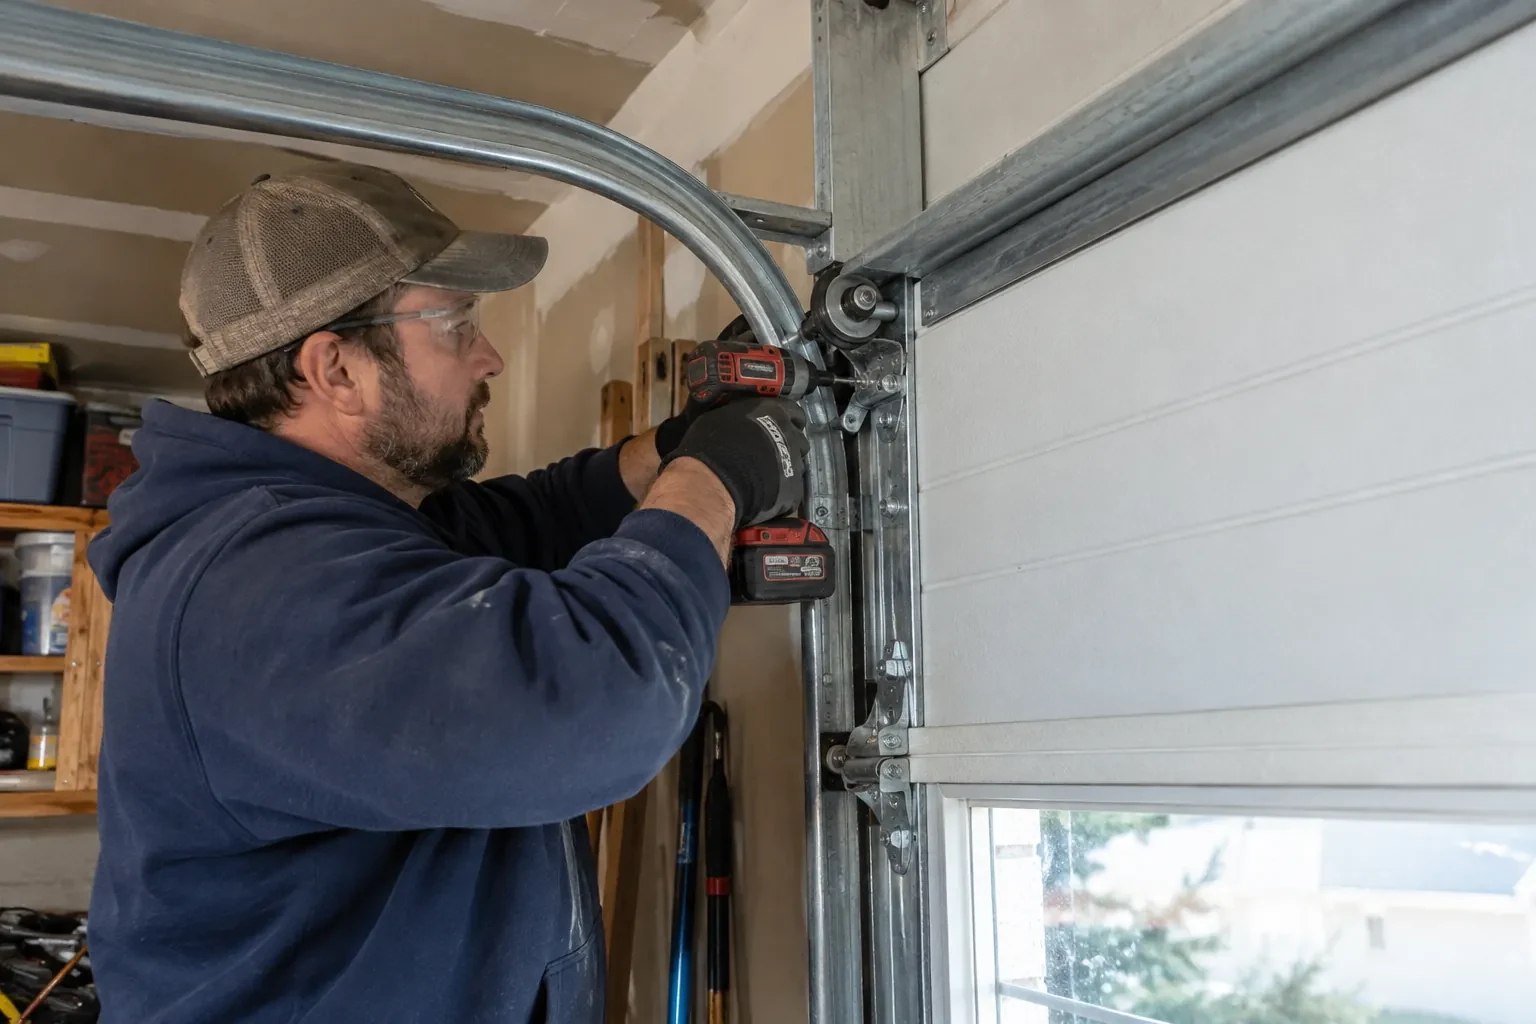
With the door fully closed, the technician pulls the emergency release and lifts the door by hand. A healthy door rises smoothly with modest effort, holds still about a metre off the floor, and stays up when fully open. If it is heavy, drifts down, or stays put only at the top, the springs are tired or broken and the opener has been doing work it was never sized for. Tracks, rollers, hinges, cables and drums are looked over at the same time. This check comes before any powered testing, because a door in this state is corrected on the door side first, by someone with the tools for tensioned hardware.
Re-engaging or rebuilding the drive
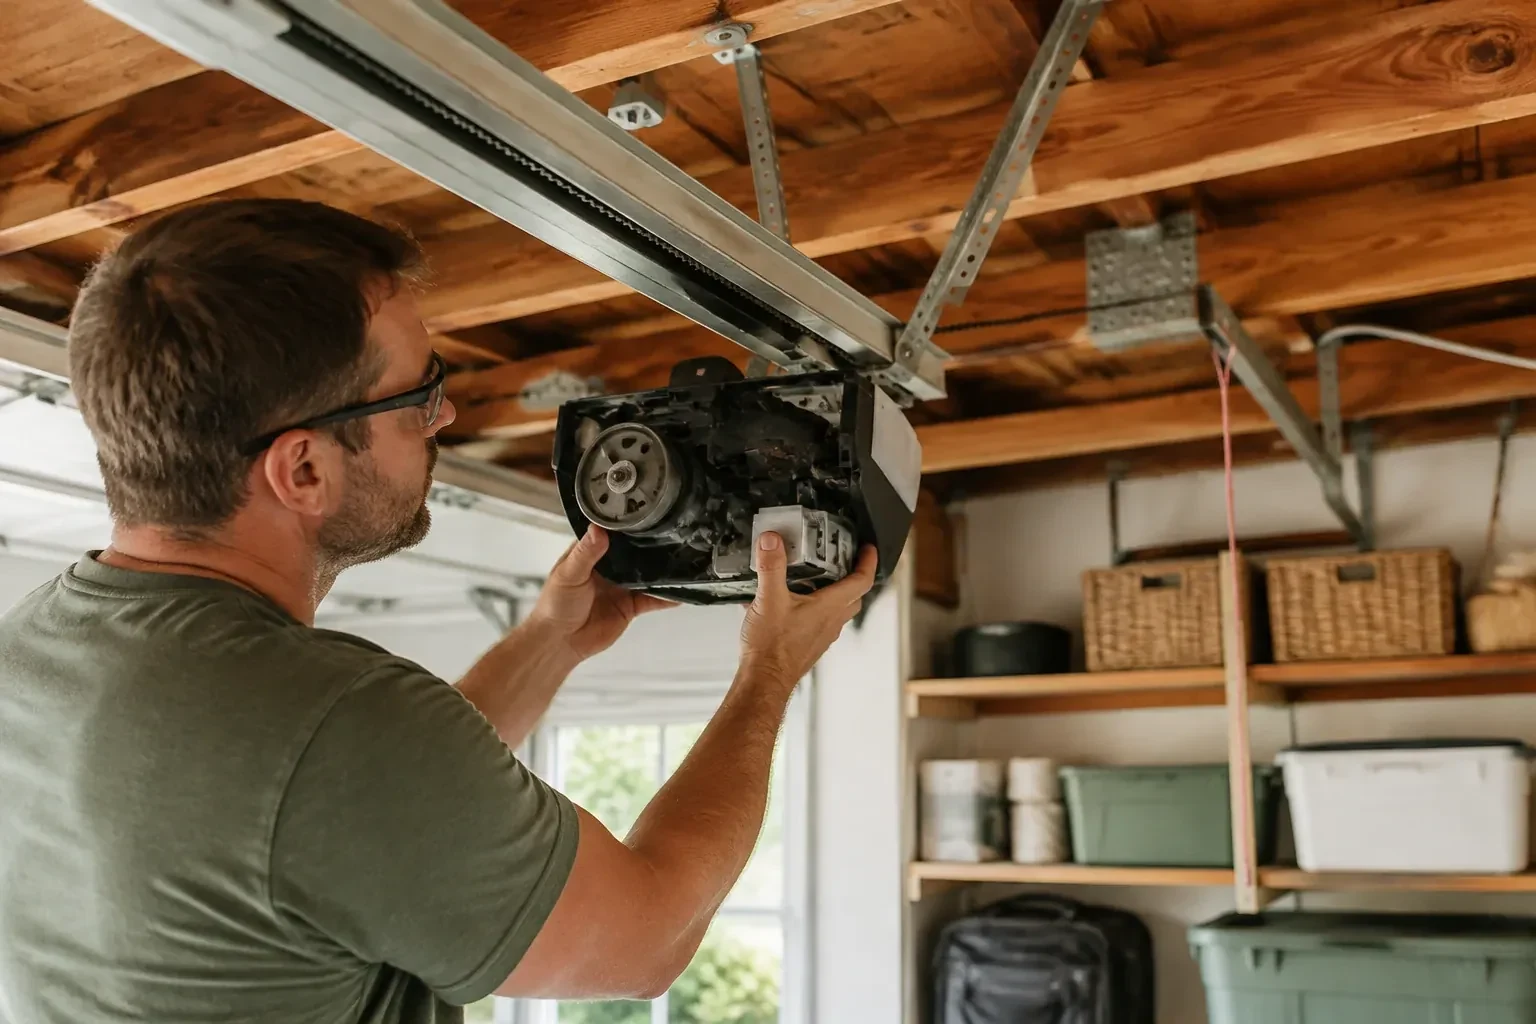
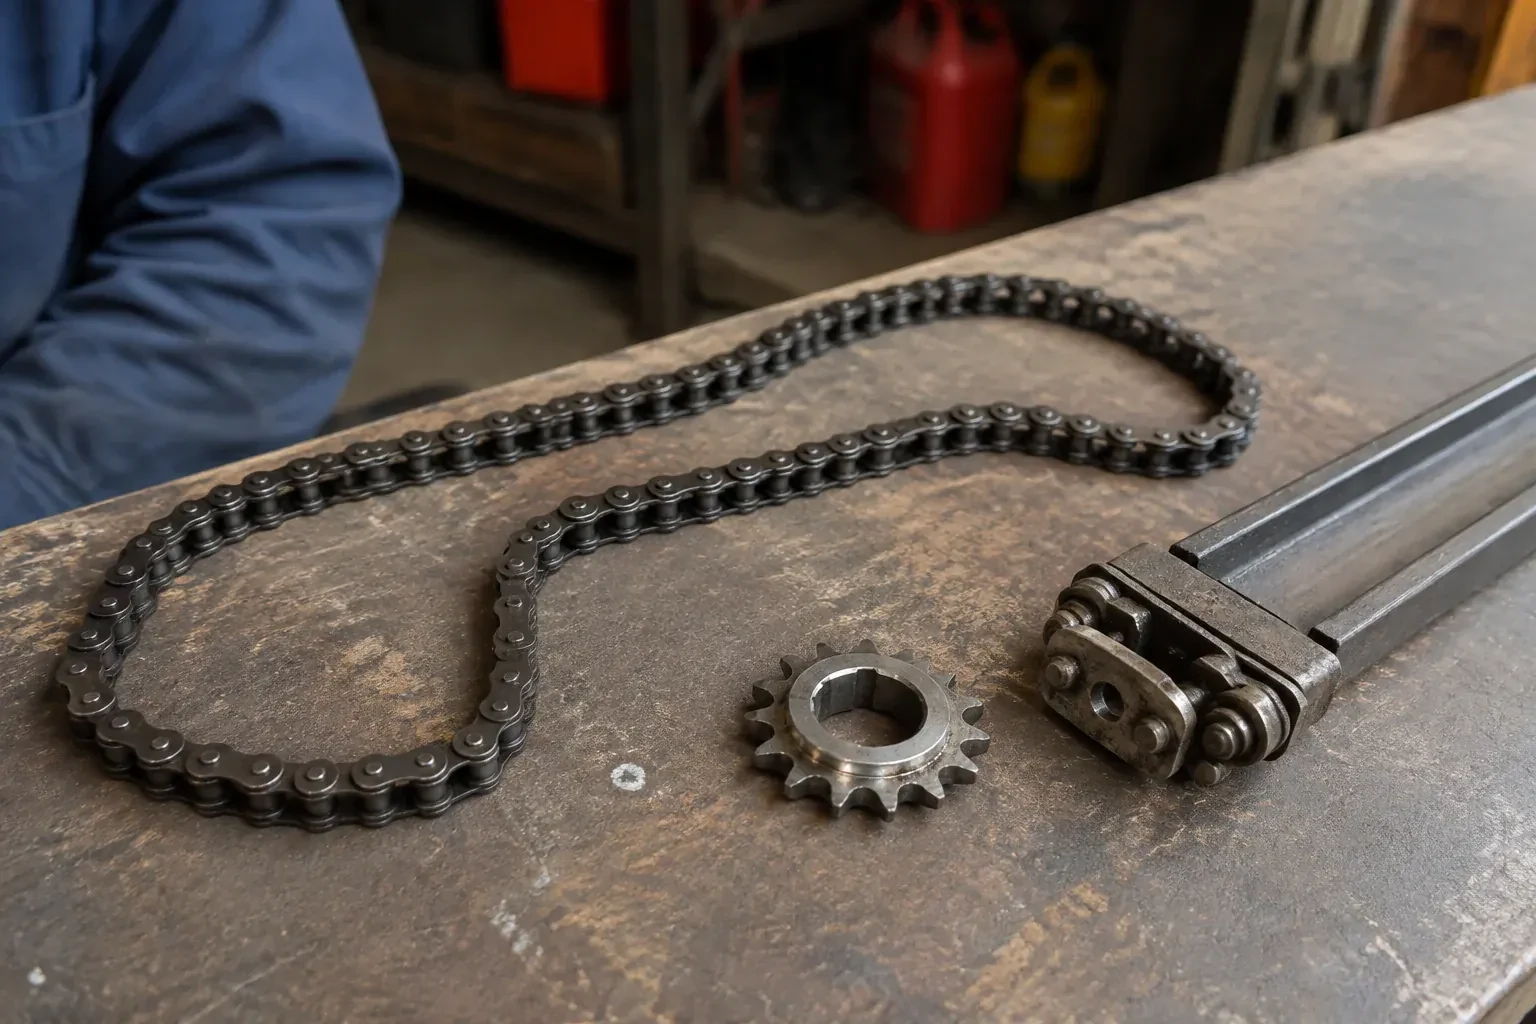
A trolley that was disconnected by the release cord is re-engaged: the door is placed by hand, the carriage is run to meet it, and the two latch together with an audible click. A stripped drive gear, the classic failure on chain-drive heads, is replaced as a kit: cover off, motor lifted, worn gear and sprocket out, new gear, sprocket, bushings and grease in, chain re-tensioned so it sags only slightly below the rail. A snapped or badly stretched chain or a frayed belt is replaced and tensioned. Each repair ends with a full open-and-close cycle while the technician watches the trolley for smooth, even travel.
The monthly test you can do yourself
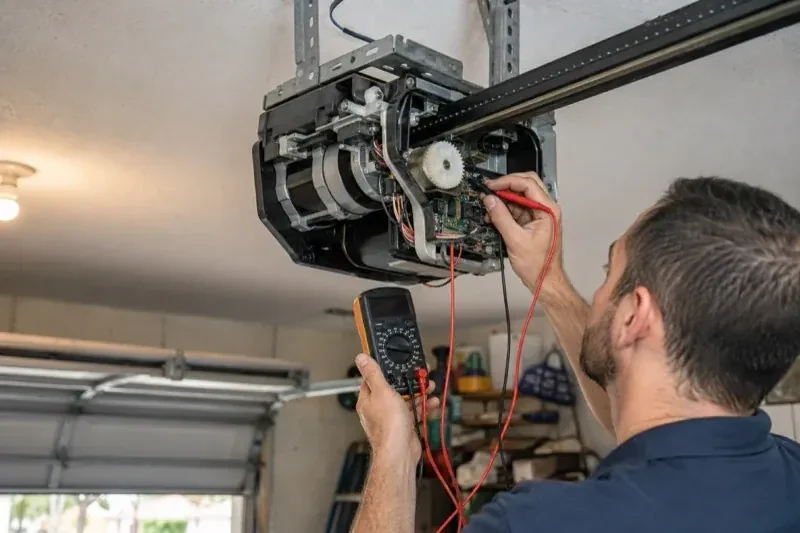
You leave knowing a short check that catches most opener trouble early. Once a month, with the door open, lay a piece of 2x4 flat on the floor under the middle of the door and press close; the door should touch it and go straight back up. Then close the door again and pass a broom handle through the sensor beam near the floor; the door should stop and reverse. Watch the sensor lights stay steady. If either test fails, stop using the opener and book a visit. These are the same tests the technician just performed, and they are all the standard asks of a working unit.
Garage Door Opener Diagnosis and Repair
In the van
Trolley and carriage
Photo-eye sensor pair
Bell wire and clips
Transformer and board fuse
Garage door lubricant
Garage Door Opener Diagnosis and Repair
What affects the quote
Repair or replacement
When diagnosis points to replacement, the quote changes shape entirely: a new head unit, rail and sensors with installation, plus removal of the old opener, rather than a single part and labour.
Time of the call
A weekday daytime visit and an evening, weekend or holiday call cost the same amount for an opener diagnosis. The technician confirms the exact figure once the drive, the sensors and the wiring have been checked in person.
Ceiling height and access
A standard-height garage puts the head unit in easy ladder reach. High ceilings, high-lift tracks, storage lofts or a car that cannot be moved add setup time and sometimes a taller ladder.
What to have ready
- Is the garage connected to the house, or does it have a side door?
- Can you see a gap in a spring above the door, or a loose cable?
- Roughly how old is the opener, and is the model label readable?
Garage Door Opener Diagnosis and Repair: questions
QuestionsWhy does my door go back up when I try to close it?
The opener believes something is in the way. Either the photo-eye beam near the floor was broken, misaligned or blocked, or the door met more resistance than its force setting allows, often from a frozen seal, stiff rollers or a travel limit set slightly too long so the door hits the slab. The indicator light on the head unit usually tells which of the two it was, and the technician confirms it by testing rather than guessing.
The wall button works but none of my remotes do. What happened?
Three things account for most of these. The wall control has been put into lock mode, sometimes by a child or a visitor, which blocks all remotes until it is released. The opener's memory was cleared, usually by someone pressing the learn button while trying to program a new remote, so every remote needs programming again. Or the receiver in the head unit has failed. The first two are simple settings; the third is a part.
How old is too old to repair?
Age alone is not the test; parts and safety are. The technician checks the exact model and part numbers, because even a unit from the last two decades can have a board, sensor or trolley that is no longer made. Where the parts are available, a repair is usually straightforward. Where a key part is discontinued with nothing to replace it, or the unit predates photo eyes, replacement is the sounder choice even for a small fault. The technician tells you which side of that line your unit sits on.